Showing posts with label upstairs remodel. Show all posts

{Doug's Closet} Function

While my dad was busy with Lily's Room and had some down time between painting (if I can even call it that), he took on a project that has literally been years in the making... Doug's closet. Some how in the years that it's been since we tackled our upstairs remodel, Doug's closet was never finished. It had the drywall, trim, and paint but no storage. For awhile we didn't even know what he wanted in there - shelves, rods to hang up things... whatever. So Dad and I decided to tackle it while Doug was in a meeting and luckily Doug is an easy going guy and happened to like it.

Here's the room when it was used as a dumping ground after it was finished with paint and trim. I chose to keep the doors off (I hate bi-fold and that's what was there), always thinking we'd pick some curtains to use. 

A view of the height of the closet and the slanted ceiling. The weird bump out inside the closet is part of a built in shelf in my office.

The east side of the closet, used for more storage (the shelf for the built in in my office).

And now there's shelves and a rod to hang *some* of his clothes from! We bought a lamp from Lowes that only required being hung on screws and plugged in (vs. hard wiring) and so it keeps his closet super bright if needed.

My dad added a bunch of shelves to the east side wall and we picked up a bunch of containers from Target. He needs more (we weren't sure what would work).

{Home} Meg's Closet

My closet is about to see another change... small, but it'll help me a lot! But before I discuss it, let me take you back to what it has gone through.

This is when we gutted everything. The brick wall on the right is the exterior wall of the house (yes, our entire house is just brick). The reddish wall on the left is shared with our small bathroom and I'd love for it some day be bumped out into my closet to include a shower in there. But that's another story. 

So that's what it looked like after we ripped down the drywall, pulled out all the nasty pink insulation, and before I removed thousands of staples and nails. Talk about gross.


Here it is after it the exterior walls were made deeper by adding 2x4's, insulated with spray foam insulation (awesome stuff!), and drywall. 


And here is it with the supports. There's a slight angle to the ceiling so the white board is actually straight (although it doesn't look like it). We saved some money by reusing the white bracket supports that were used previously. However, my dad added the additional support with the white boards so that the weight of my clothes wouldn't rip apart the drywall. 

And then I decided to paint the supports. I figured it'd blend all in. The white brackets are still white but when clothes are on it, it's not a big deal. 


And here it is after a much needed organizational sort through. It's still crazy to look at but it's organized, relatively clean, and there's space for the rest of my clothes! 

If you look at the photo above, I've sorted my clothes... the far left section (between wall and first bracket) are long sleeve shirts (I don't own many), sweaters and some light weight jackets. Oh, and my scarves. The second section are my pants. I just sorted through these, found some to donate and folded a bunch which are underneath on the floor (sandwiched between way too many sweat shirts and some flip flops and my giant troll slippers). The third section are my shrugs, cardigans, and 3/4 sleeve shirts. The fourth section are my shirts with shorter sleeves. I wear a lot of these for work so that I'm not constantly pushing up sleeves or getting dirty (I am an art teacher!) and the fifth section, that you can't see are my tank tops and some nicer t-shirts (normally school related or sport themed). I do have a dresser in here that's packed with other things - painting clothes, swim suits, pajamas, underwear, socks, stuff like that.

I'm thinking that since this area is really big, that I'll bring in additional storage with shelves and baskets. You can see I need it!

The biggest thing though... is that we have the board for above the brackets now and it'll be cut to size this weekend! I'm thinking it's big enough that it'll be the start of some more shelves. I know there's not a huge amount of space to put things on the shelf but it'll be great for some smaller items, frames, and some of my shoes.

{Home} Before Photos

At Lily's birthday party today (pics to come), I realized many people in our family had never seen the before photos of our house. One of my friends said that I should make a coffee table book. That would take some more time and finding the old photos of everything, which I'm hoping are on my old computer. But anyway... here are some photos from the house before I got my hands on it!

BEFORE - the hallway bath. Brick red ceiling, aqua blue walls, shell border around ceiling and cut out detail, pinkish tan painted trim, tile halfway up walls, wallpaper on ceiling.

BEFORE - old bath area in front of window was converted to shower area too (with the new "wall" to house shower pieces.

BEFORE - bathroom - circle medallions match those found in dining room (all cut out of larger wallpaper pieces).

BEFORE - columns in living room. Two tone with glaze.

BEFORE - living room into dining room (house is a mess while painting started). The living room had already been painted, dining room is still a dark red.

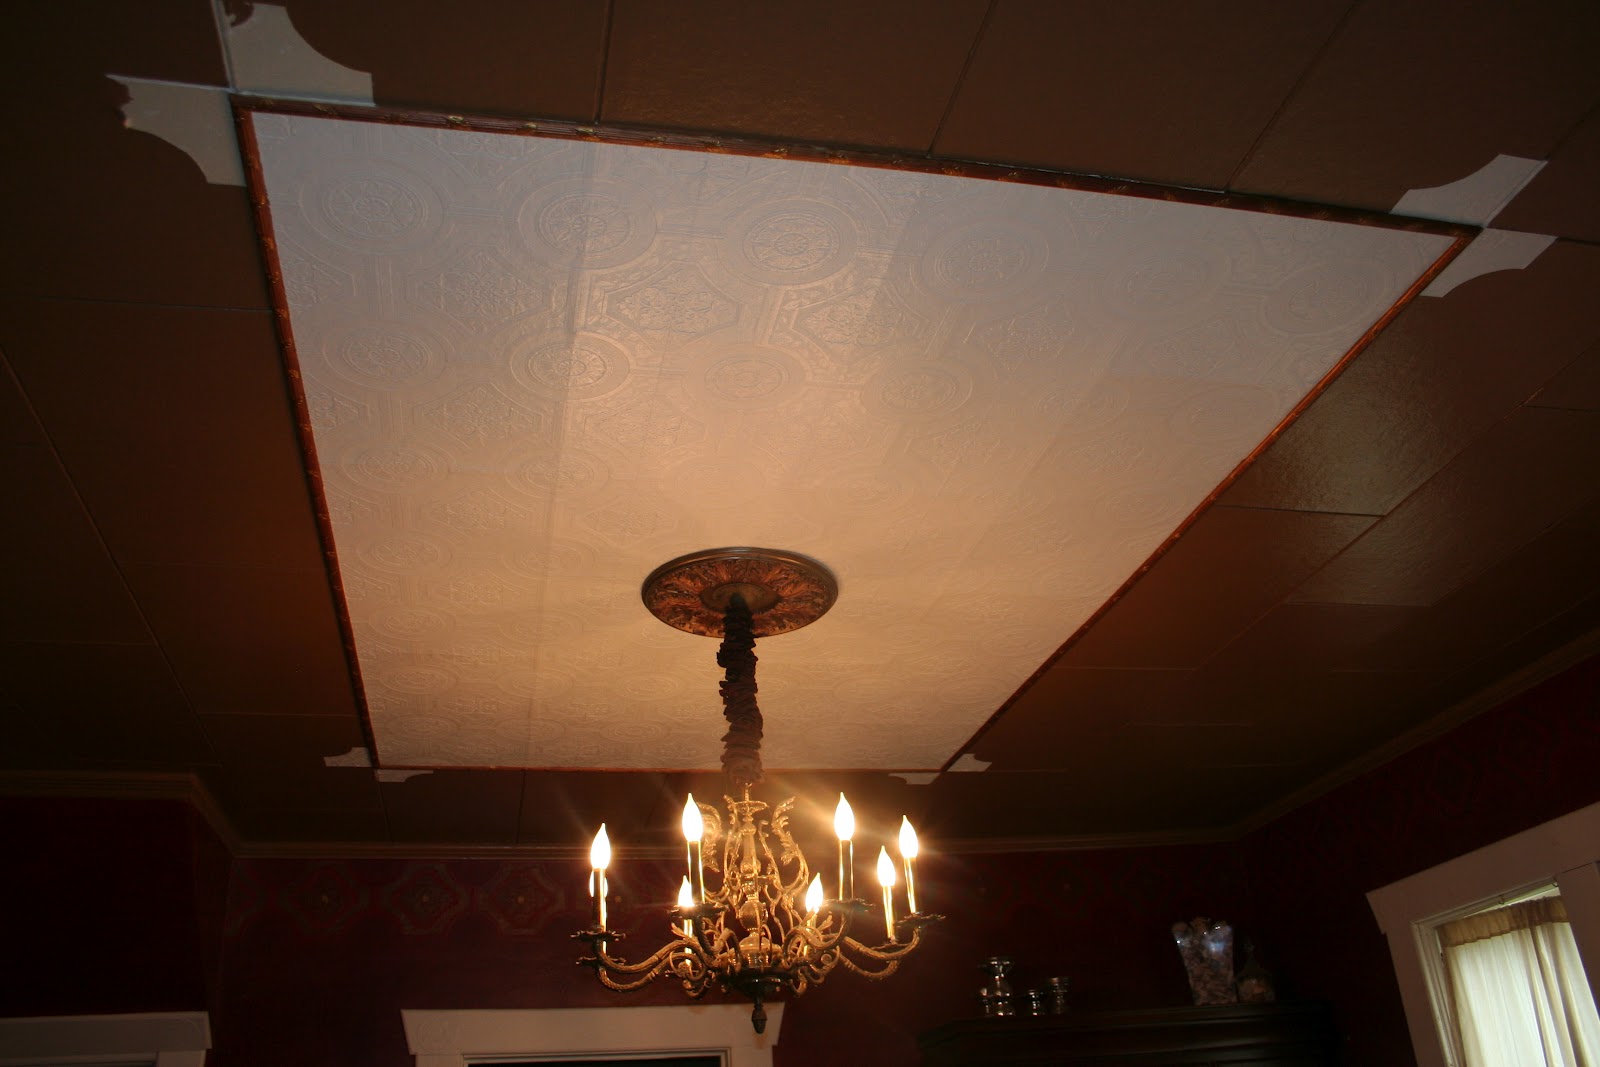
BEFORE - dining room side was solid brown with glued on decals.

BEFORE - living room - "antique" (according to previous homeowner), wallpaper (that's the sheet that was cut out for all borders and circle medalions), corner pieces from wallpaper, hand painted border (wallpaper), dark red (with black glaze) walls, brownish ceiling.

BEFORE - dining room - just another shot of the darkness and random details.

BEFORE - dining room - showing off the hand painted (NOT by me!) wallpaper border.

BEFORE - that's a lot of work - glad it didn't take much to remove it all!

BEFORE - dining room - wallpaper on trim. Why?!?!

BEFORE - door. The true before would show the old hardware, but we replaced that for a new lock and dead bolt within weeks of moving in. Security first people!

BEFORE - kitchen - OMG was this bad! And yes, those are grapes that are climbing up to the ceiling.

BEFORE - kitchen - oh the green ...

BEFORE - kitchen - up close - and in progress, the black is just a temporary fix until we can afford a true makeover
BEFORE - Lily's room - two closets, poop brown trim, stenciled gold medallions

BEFORE - Lily's room

BEFORE - Lily's room detail of the stencils on the walls

BEFORE - living room - dark brown trim, mustard walls (with glaze), wallpaper (hand painted again), two color door, "ornate" (?) switch cover, dark green curtains with tassels.

BEFORE - living room - wall paper on ceiling

BEFORE - living room

BEFORE - living room - trim on bottom and top of walls. Green thing with strings is the curtain and the tie back (that's looped up so I can start cleaning and removing wallpaper).

BEFORE - living room - window decorations

BEFORE - fireplace

BEFORE - living room - more wallpaper!

BEFORE - upstairs office (look at the belly!!!)

BEFORE - our garden area

BEFORE - was after - of garden area (and also pre-fence too)

BEFORE - upstairs - two different colors of trim, wood trim everywhere (instead of properly finishing drywall), wood paneling on vertical surfaces

BEFORE (kinda) - upstairs. This shows teh color, wood trim, stair carpet, brick walls that were on all four eaves

{Upstairs} Office Update

This afternoon Lily went down for a HUGE nap! It's my gift after we got up at 7 (not complain'!) and were at the mall before 10. We shopped for over 4 hours, played, walked around, and had a lot of fun with just the two of us. She slept for maybe 2 1/2 hours and I got bored playing around online (for once). So I finally got the energy up to tackle some of the upstairs projects that keep getting pushed back.

My office... or whatever you want to a call a collect all room with the desire to be an office... is pretty much a storage place for a lot of things. It's still a work in progress and will be for awhile. There was once a built in closet where we will build built-ins in the future. We ripped out the closet during the gigantic upstairs remodel a couple years ago.

Thanks to my parents I have a desk. It's a beast of one and my mom bought all new hardware for it while she attempted to use it (she didn't care for it and I think it was too big for her in her space). I'll admit the color isn't the highest on my list but you know what, it's staying. It was free, in great shape, and let's admit, I'm not a huge painter of furniture. I also have a to do list that's a mile long! So for now I'm going to focus on the rest of the room and the future purchases to help tie the room into a real, functional office that's CUTE!

The desk... oh so much work is needed! Things definitely need to find homes!
So, I have the desk. I also have an armoire that was also my parents. You may notice a theme for that one! The problem with the armoire is that it's super old and has been with my parents forever. During the moves over the years, it's lost one of the doors. But that's ok, I have plans some day. I haven't put the big door on because I'm using it to hold stuff and the door wouldn't close with what's inside it. However, I do have plans for that side of it too... including another built in shelf! It's a good thing I know someone who'll help me (my dad!).

Craft "closet" aka the armoire. It's a work in progress!

We kept the original built in desk and shelves when we remodeled. My dad took part of it home to help sand and varnish it and I think (hope!) that the hinge is at his shop. I have the rest of the parts to put it all back together but I need the hinge. It's a super long piano hinge for the whole length of the desk.

Yes, I'm fully aware that I have four frames that need photos. I've had that blue long one for probably 10 years (or more!) and it's been moved from home to home with nothing ever being done. It matches another frame that has a picture of me and my cousins on one side. I've since moved the books around. The back color of the built-in is the same as the wall color, I kept the shelves varnished, and the trim white to match the floor trim. I may paint the back a fun bright color or do a pattern. Not sure though. It'll probably be one of the last things I do to the room though.
Original built-ins that need some sprucing up (not to mention the drop down desk portion to be put back in place!

Floor, pre mopping for the second and third time!

The future built-in area. Notice the change of floor color and even the direction of the wood? That change was where the closet used to be. I didn't want a closet anymore and we wanted built-ins. We're going to go all the way from wall to wall and take up the whole short wall you see here. It'll be where we store our school books, boxes to store items (I'm thinking a trip to IKEA will be in the future) and the home to our future printer and anything else that doesn't need to sit on my desk. I do have a filing cabinet so I don't have store that type of stuff. We keep the filing cabinet in one of the crawl space closets so it's not taking up useable floor space. The two posters here and the black CD cabinet were my brother's and the painting is one of many I did in college (the assignment was a self portrait with hand - which I hate - and I added my dog at the time, Rugby). 
Future built in shelf area!

So there is the current state of the office. Here's a little before photos:
And I'm wondering why I can't get some things up by mopping three times?!?!? I don't know why we didn't protect the floors... live and learn!

Insulated, drywall, mud, new electrical, and new windows... Ready for paint!

Working on paint, haven't added trim yet...

The Office To Do List... (as of now)
Continue mopping floors, scraping may be necessary
Burn/shred personal items that I don't need anymore
Organize paper work
Build built-in shelves
Buy organizational items... boxes for CDs (music and storage), magazine storage, school papers, etc.
Paint back of original built-in
Buy curtain hardware and curtains
Buy office chair (so my dining room chair can go back to where it belongs!)
Put zebra rug in place (you can see it one of the above photos)
Buy accent chair... maybe a DIY if the right chair comes along
Decorate - hang posters, frame photos, etc.
Get computer - this summer! Waiting on the Mac to release the version of the iMac desktop

I do know what color combos I'm going with... teal/blue-ish color, green (like lamp on desk), and zebra print, plus the colors already going on - wood floors, tan walls, white trim.

{Upstairs} Clean Up

Another one from the old blog...

----

The room has been cleaned up (some) and so, I thought I'd take some pictures in spots that will be easy to repeat throughout the rest of the process...And also some detailed photos to show.

This is the view from the East to the West. The East side of the room will be the TV area, the West is my closet area.


This is the view South, into our office. I was standing where our bed will be.


View from the top of the stairs, looking NorthEast.


The rafters. We took out the nails and pulled off the insulation (talk about NASTY!). Another problem was that when they re-roofed the house, part of the black stuff from shingles came down onto the insulation.... it's nasty stuff that falls through onto your head.


This is the North window. We're replacing all the windows with new, vinyl, double hung windows. I can't wait! This window sits right behind our bed, so it'll be nice to be open the top and let in a breeze.


This is the view North (where our bed will be).


This is the stuff we're working on pulling down. Left over insulation and random junk... it's the nasty part of the job, as the fiberglass insulation is ITCHY!


Another shot of the "leftovers" ...

LinkWithin

Related Posts Plugin for WordPress, Blogger...