{Back Yard} Details

I introduced our back yard project here and discussed more here. Now I'm here to discuss some of the details!


The largest container is pretty large, giving me plenty of area to plant. I know I over planted but I can always move things around when the fill it up. Plus, I love the look of crowded planted areas, especially cottage style gardens where flowers mix together. I also had plenty of plants, so I put them in here for now.

So far, the container above has Columbine, day lilies, spider wart, Asiatic Lilies, a coneflower from my parents' field, and a small plant I can't remember but it's in the sedum family (I think!). I bought the sedum type flower previously and the rest, minus what came from my parents, were all moved from other parts of our yard.


My ceramic fish now has a place to call home. It's been in our front yard for years and lived primarily on our front porch but I never really liked it there. I do really like the fish though. It'll overlook a dry creek bed that'll start with our gutter (behind the round container) and meander through the containers to the edge of the garden. It'll be lined so when it rains, it'll actually have water in it. I hope the kids like it! And after the large amounts of rain we've had recently, it's already naturally making an edge. So I'll go off of that.


And there's Krypto, enjoying the area. Or at least a bone that I found while cleaning up the area. 

In the photo above:

1. The window goes to our TV room and the steps near it go to nowhere. I'm assuming they did but previous homeowners closed off our back porch. The dogs use it to spy on us when they are outside and I may keep the containers on there but may have to move them due to one large white dog.

2. There are big plans for the tree stump on the right. I can't wait until that's done!

3. The dog house is rarely used but it's nice to have. My dad built it and gave it to us a few years ago. 

4. There is a grass near the corner of the fence that was given to us. It'll grow tall and fill in some of the area, hopefully hiding the neighbor's house. It's actually in a large bucket we fully planted in the ground so it can't spread too much. 

5. I want a rain barrel for the gutter on the brick part of our house. We don't have a water spout on this side of our house so it would help with watering. 

6. Stepping stones will be added on the inside area near the edge so the dogs can do their neighborhood watch program. 

{Back Yard} Containers and Edging


Yesterday I showed you where we started in our back yard makeover and how we've basically ended up with the above photo. So now I'm back to show you some step by step photos of how it actually happened. And give you some background as well. 

For awhile now, I've wanted to do something with our back yard but it's always taken a back seat to other projects. Now that most of our yard is fine, I thought I'd put some focus back to this area of our yard. The biggest issue we have to deal with is that this back yard is home to our two dogs, or it is at least when they are outside. Plus, we have our two kids and I needed this area to be kid and dog friendly. Most gardens, I think, can be both kid and dog friendly but I also didn't want to have to stress out about it, so I kept thinking of container gardening. And not just any containers but large, galvanized containers! I posted here to show a pretty picture of what I kind of had in mind. Now, I could have gone out and spent hundreds on new ones but we live in the middle of farming areas so I figured I could find some. Plus, due to being used for gardening, they didn't need to be able to hold water so holes would be fine. 

Long story short, my parents found the three you see with the help of some people they know. The smallest, square shaped one is actually from my grandmother but the three larger ones are from local farmers.

So, we had the containers but they sat under our deck until recently. Doug and I played around with them one day, getting their placement right and he dug the holes. By digging down some, it gave us dirt to fill them in with (well, some, but that's a different issue) and it gave them some stability. Plus, it allowed us to make sure they were level as our ground clearly is not! 


Now, I could have left them be and we would just have to mow around these but that's just not what I had in mind! I wanted a true little garden area that could be an accent to our pretty bare back yard. 


See the tree stump above? It has some big plans for that area! I can't wait to show you (once it is done!).


My parents had these edging stones leftover from one of their projects and gave us a bunch. We had 40 to start with and have at least 20 more. But this project maybe took 30, so we're good! As shown above, I created an edge to the flower garden area by going off the corner of our patio and going towards the fence. There's a natural line there from the slope of our yard and years of dogs running it that I kind of went with. I actually went a little wider than where the dogs run because there will be stepping stones on the inside of the edge. 


Zoey, my old brindle baby, is showing off the patio. The blue thing above her is our giant trampoline that'll move to the other side of our patio. But the edge is complete and now waiting for mulch. It's not done on the right side due to the next project that'll be happening over there. I'm thinking a trellis may be needed to break up all the white vinyl of our porch siding. What do you think?

Here's an iPhone collage to show you some of the steps so far:

Stay tuned for more about our back yard! And remember, this is about where we are now:


{Back Yard} New Flower Beds

Good Morning Friends!!!

I'm here to show you some of our progress made in our back yard. We started with galvanized containers that my parents picked up from various farmers (they were happy to see them go!) and some blocks my parents gave us. I'll be back later this week with more of some of the step by step pieces of this project as its not done. I'm hoping by Friday, it'll at least be one step closer to being done before we start on a few more projects.

Let's get to it though, ok?

Here's what we basically have right now. There are a few more flowers since this photo was taken but I'll show those later. 


And this is what it was a few weeks ago.


So much better, right?!?! 

Talk about an overgrown, unloved area!! We've spent so much time in other areas of our yard, like the front yard and Lily's Garden, plus the raspberry bed and vegetable garden, that this sad area had been neglected. On the right, near all that tall overgrowth is a tree stump from a tree we had removed a few years ago. Normally I'm all for keeping trees but this one had some damage, was old, and close to our house. After a bad icy winter, we took it down before it took more of our stuff (and our neighbors' stuff) down. 

Instead of a super long post, I'm going to break it down and show some step-by-steps. Like I said, I'm hoping I'll get mulch by Friday to show you that this is pretty much done except for one special area. Then it'll be on to the other areas of our house and yard, because we never seem to just have one project at a time! 

{Front Door} Black Trim


Isn't she beautiful?!?! 

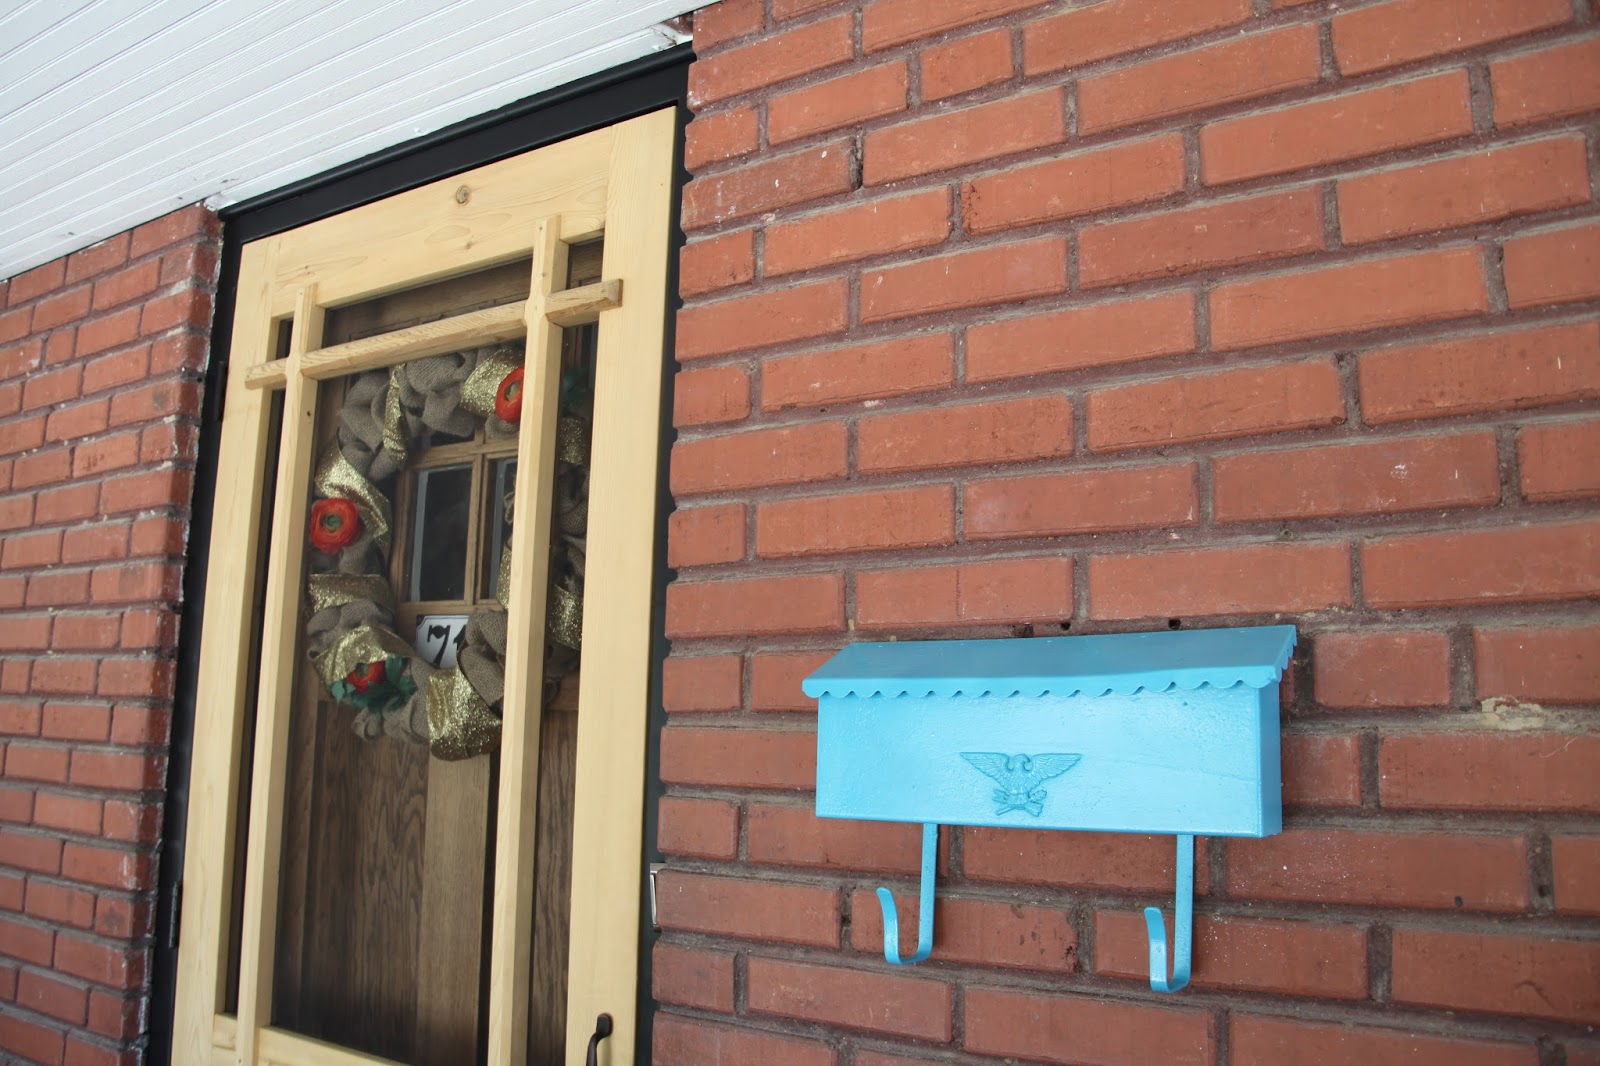
I finally got around to painting the trim around the door black. It only took three years to make it happen!! I've been busy though. 


I also painted the mailbox. I'm not sold on the color, although it's much better than the yellow. I love the color itself but not with the black and wood. I actually have another mail box to hang up but that involves drilling holes in brick and that's not my thing. 

Three years ago, I started the front door makeover by removing the paint. You can read about the fun times here. I remember the day I first took a scraper to the paint (after letting some paint remover do its thing) and my mom was there with me to discover that the once ugly door was hiding a beauty underneath! I scraped and scraped and scraped some more to get all the paint off of it. Then my dad, the super hero, flew in to the rescue and varnished it for me. Isn't he the best?! He also made new trim due to some issues of the original stuff falling apart. 

The front porch is far from over though. The ceiling (bead board!) needs to be repainted, the floor desperately needs painted, and the window sills all need painted too. I'd love to buy a new rug and a new welcome mat. I'm over the Welcome/Goodbye sign as shown in the first picture. 

And as a reminder of how far the door has come, here's a little collage: 
So here's a breakdown of what happened:
1. We replaced the locks (safety first!) when we bought the house. This left a rectangle near the door handle as you can barely see on the far left. 
2. We removed the mail slot. My dad did this. He's amazing.
3. I scraped and scraped and scraped paint. Layers of it. As shown in the middle three photos.
4. I removed the screen door metal pieces. There was never a door there since we've moved in.
5. My dad finished the door by varnishing it. 
6. My dad built a new frame around the door to cover up some issues.
7. And now, I painted it black. 
8. I also painted the threshold black for the time being. It may end up the same color as the floor once it's painted, but at least it's not multi-colored anymore (white, brick red, and bare concrete to name a few). 

Oh, and I never did a post over the actual screen door that my dad BUILT from scratch! That deserves its own post, although I don't have any other photos of it besides what you see above. 


LinkWithin

Related Posts Plugin for WordPress, Blogger...