Showing posts with label front door. Show all posts

{Front Door} Welcome!

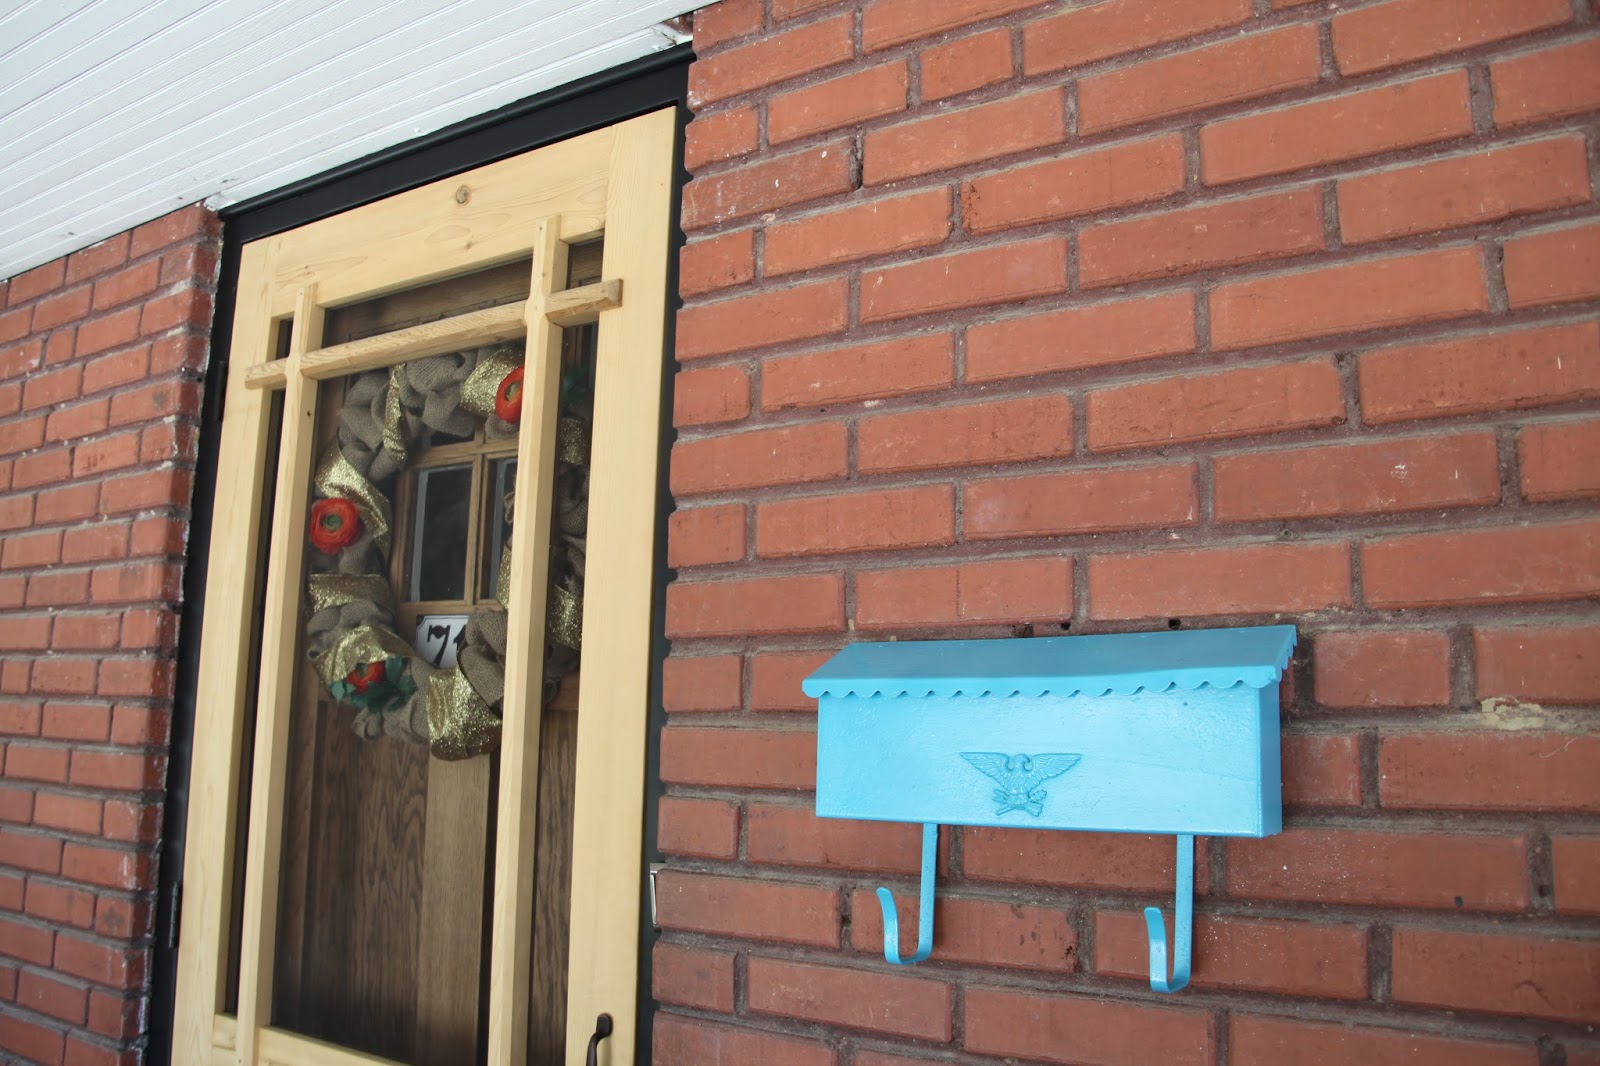
Hello friends!!! I've recently changed out my wreath decor and I also repainted our mailbox (again and again). You can see the original makeover here in its original sad state and when I brightened it up with yellow paint). The yellow, and then the turquoise, were all a little bright to me so I went with a classic black. Ideally, we'd replace the mailbox with some awesome, art deco (possibly) type but that just hasn't been in the budget. Or even the top of the to do list, so paint it is!


I also changed up the wreath. I guess you can say I try to stay up to date with the seasons but's really just Spring, Summer, Fall (Halloween) and then Christmas around here. Maybe some day I'll do others. Maybe. 

The black and white ribbon was on there for awhile and I kept it because it ties into the address plaque and our mailbox. The star garland lights up and is from Target's dollar spot (although I think it was actually $3). I already had the welcome sign from years ago but I believe it originally came from Hobby Lobby. It helps hide the battery pack for the lights. 


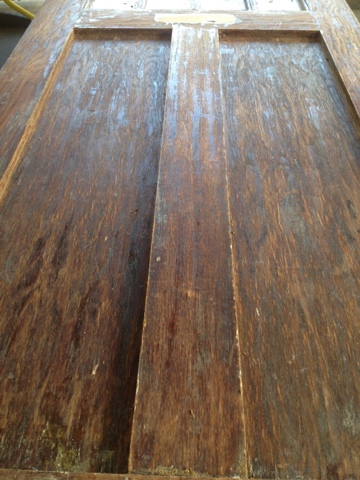
The original wood door wasn't always this pretty. Check out the messy process to get it so pretty here. I also painted the black trim and you can see it here.  

What do you think? Do you decorate for the holidays or seasons? Are you a big burlap or wreath fan? 

{Front Door} Black Trim


Isn't she beautiful?!?! 

I finally got around to painting the trim around the door black. It only took three years to make it happen!! I've been busy though. 


I also painted the mailbox. I'm not sold on the color, although it's much better than the yellow. I love the color itself but not with the black and wood. I actually have another mail box to hang up but that involves drilling holes in brick and that's not my thing. 

Three years ago, I started the front door makeover by removing the paint. You can read about the fun times here. I remember the day I first took a scraper to the paint (after letting some paint remover do its thing) and my mom was there with me to discover that the once ugly door was hiding a beauty underneath! I scraped and scraped and scraped some more to get all the paint off of it. Then my dad, the super hero, flew in to the rescue and varnished it for me. Isn't he the best?! He also made new trim due to some issues of the original stuff falling apart. 

The front porch is far from over though. The ceiling (bead board!) needs to be repainted, the floor desperately needs painted, and the window sills all need painted too. I'd love to buy a new rug and a new welcome mat. I'm over the Welcome/Goodbye sign as shown in the first picture. 

And as a reminder of how far the door has come, here's a little collage: 
So here's a breakdown of what happened:
1. We replaced the locks (safety first!) when we bought the house. This left a rectangle near the door handle as you can barely see on the far left. 
2. We removed the mail slot. My dad did this. He's amazing.
3. I scraped and scraped and scraped paint. Layers of it. As shown in the middle three photos.
4. I removed the screen door metal pieces. There was never a door there since we've moved in.
5. My dad finished the door by varnishing it. 
6. My dad built a new frame around the door to cover up some issues.
7. And now, I painted it black. 
8. I also painted the threshold black for the time being. It may end up the same color as the floor once it's painted, but at least it's not multi-colored anymore (white, brick red, and bare concrete to name a few). 

Oh, and I never did a post over the actual screen door that my dad BUILT from scratch! That deserves its own post, although I don't have any other photos of it besides what you see above. 


{Front Door} Labor of Love

Ahh... here it is! The door collage from the beginning (minus original hardware that was on it when we bought it) to present. There are still some changes to be done, but look at that beauty!

Here are larger versions of the same shots. Sorry for the lack of straight on angle for this one. It was just too ugly.


We still need to:
Buy a sign from Ramsign (need to measure to make sure which choice is best and then order)
Paint trim
Paint threshold (and rest of porch floor some day)
Buy/build screen door

**Sorry for the small photos, Blogger won't let me resize them.**

{Front Door} Framed

I'm sorry I don't have any in between photos to show you the process of how this happened but my dad worked his magic (he's been in construction for 30+ years) and worked hard to help finish off my door. As you may remember, this is how we left off, cracked junk (insulation?!) and all. Horrible. But it's still better than it was in the beginnning.
 
Anyway, this is what I came home to today (and yesterday was about the same too, but I noticed a few small changes today). Isn't she beautiful?!!?
 
 
Notice in the pictures the round oval is still noticeable? Well, we have plans for that! It'll happen once we have a spare $100 to order a Ramsign for our house. And once we figure out what we want on it - our address, just the number or number and street, or our name? Decisions, decisions.
 
My dad sanded it and varnished it while I was working. He also made a frame to hide the ugly leftovers from a DIY project gone wrong (someone butchered the frame when they put an old screen door on). My dad's frame also helped close the gap that was covered up by some serious caulk lines.
 
The frame isn't finished. It needs painted a final coat but the white is a great step towards being finished. I love it! Now I just need it to be summer so I can paint the front porch and window sills and our front porch will be done.
 
Thanks Dad!!!
 
You can read all about the front door here, or by clicking on various posts. Here's what it looked like before, this is what it looked like when I finally took some paint remover and a scraper to it, and here are more of the steps that happened as I removed layers, layers, layers, and more layers of paint and built up caulk.

{Front Door} Update

Not much has happened on the front door progress, but my dad is going to help me fix the broken board (that was hiding the wires for the door bell).
 
I've continued the removal process of all this old, black, dried up caulk (we're guessing). The stuff is everywhere and takes some hard work to get out. The caulk, both the black hard stuff and the white stuff shown below on the right, is everywhere. The bricks have the caulk all over them.
 
The bricks also have a thin line of the brown poop paint color. I'm hoping that we will be able to cover some of it up when we finish the door up and then it'll all get painted too. I've been able to scratch some of the paint off but not all of it. I may, at some point, try to use a liquid paint remover but I'd hate to ruin the bricks at all.


Front Door, Day 3

Is it really just Day 3?!?! Maybe I forgot and didn't count right... it feels like it's been forever! The door is basically done, it needs some cleaning up around the windows and the edges but I'm not taking it off again, especially now that it's 3 digit weather here in Mid-MO! But, I am working on the door frame now. The below picture shows how large the caulk (and some other stuff) was between the door and the house bricks. It had started to crack really bad and hasn't taken much to get off. Luckily there's not a lot of that poop brown paint color on the bricks. There's some, but it could be a lot worse.
I'm not done but I think I'll stop for the day. Heat, chemicals, and no breeze is not a good combo. So here are the pictures...

Oh, and if you want, you can see Day 1 here, Day 2 (part 1) here and Day 2 (part 2) here. And here it is before I started.

Ugh... this side pisses me off. They stripped the board to place the wiring for the doorbell underneath the metal frame for the screened door. The board is basically ruined!
Random screw hole (probably from screen door) and all the layers of paint.
Pretty wood underneath 3+ layers of paint.
You can kind of see a groove in the wood (same piece as where the door hinge used to be, running vertically). It's a pain to clean out but I think it's a nice detail.

Front Door Progress, Day 2 Part 2

It's getting closer!! I made a lot of progress on the door today but there is still a lot to go. However, it's back on its hinges and the hardware is back on so my house is safe again. And all in time for me to relax a bit before picking up Lily.

As with any home project, this one is going to most likely cause a snowball effect. The interior of the door now needs touched up (ok this needed it before but needs it more now), the door jam definitely needs help (no surprise), the threshold needs some TLC and what may be the biggest is that now I want to paint the front porch floor. It's currently a brick red that's in need of paint. It's always got dirt and pollen on it thanks to some neighboring trees. Instead of fighting the issue, I may go with the dirt color and paint the whole thing a gray/tan color. Griege? Maybe. We will see. After that though, I know we will want to paint the porch railing. And of course, there's our sidewalk that is crying out for help. Oh the joys of homeownership.

Anyway, I'm getting ahead of myself. Let's back up to the door....
This is why you wear gloves! My hand isn't even in the right glove and yet it's still stuck in that position.
GROSS! This is what I scraped off after I had most of the paint gone.
The grossness is worth it in the end because of this:


Full shot of the door. This is how I've left it.
There's a little bit of a story to the next photo. I just forgot to take a photo of it (although you can kind of see it from the full door shots). My dad told me that there was extra wood nailed to what's shown below. I'm assuming that it was for their screen door that they had here previous to us. Whatever the reason though it's gone. Now there's an even space around the whole door - see it? Yeah, it's tough. 
Isn't the beadboard ceiling nice? I've given thought to painting it a color. Maybe blue like my dining room?

Front Door Progress, Day 2 Part 1

Part 1....

If only someone was here to take photos of me while I tried to carry out a solid wood door. Ha!! For awhile, I was afraid I couldn't do it but I was so determined that I just had too. My determination met its match with a brand new bottle of stripper though, and the stripper won. But not the door!! Luckily I had another bottle that had already been open in our basement!

The door came off the hinges incredibly easy which was extremely helpful seeing as one side of the hinges is painted over and one is underneath some weather stripping.

I also took the hardware off. That was easy - just a few screws. Getting it back on should hopefully be just as easy. I have to get it all put back together before I can leave the house to pick up Lily!!

Anyway... Here is the door. It's almost done with the stripper. I'm letting it dry a little until I can tackle the paint some more. Most of it is done though!!!
Window detailed
More window detail. These little areas are tough to get!
More windows.
The hole is from the door knob hardware and the raised circle is from where I let the empty container of stripper sit (upside down) to drain out.
Underneath of the weather stripping piece on the bottom of the door.
Getting there!
All the paint is gone (well, for the most part, there's still some grossness in the window area)


And here's the door frame that I am also working on. Along with removing as much paint as possible (this part will all be repainted, not stained like the door), I am removing the caulk that helped sealed the area between the door frame and the brick walls of the house. 
The door frame and layers of paint.
Door frame - removing the old, cracked caulk that was attached to the door frame and bricks.

Door Progress, Day 1

I posted earlier that I was starting on the front door. Today saw a lot of progress!!! I'll let the pictures (and some captions) tell you the story. I hope to continue working on it tomorrow and Thursday. We have to go to Doug's grandmother's funeral Wednesday and will be visiting family that day.


That red is hard to get off!
I still have a ways to go....
Isn't that wood pretty???
The mail slot will be stained along with the rest of the door to help hide it and then we'll buy/make a sign to cover it up.
Part of the paint came off so easily!!
The red is gone! Well, most of it... if you look closely there's still a little.
More pretty wood grain!
The windows. On the bottom row, third from left, is set is slightly deeper than the rest. I had never noticed it until I was scraping the paint off. These windows are hard but are getting there!

LinkWithin

Related Posts Plugin for WordPress, Blogger...